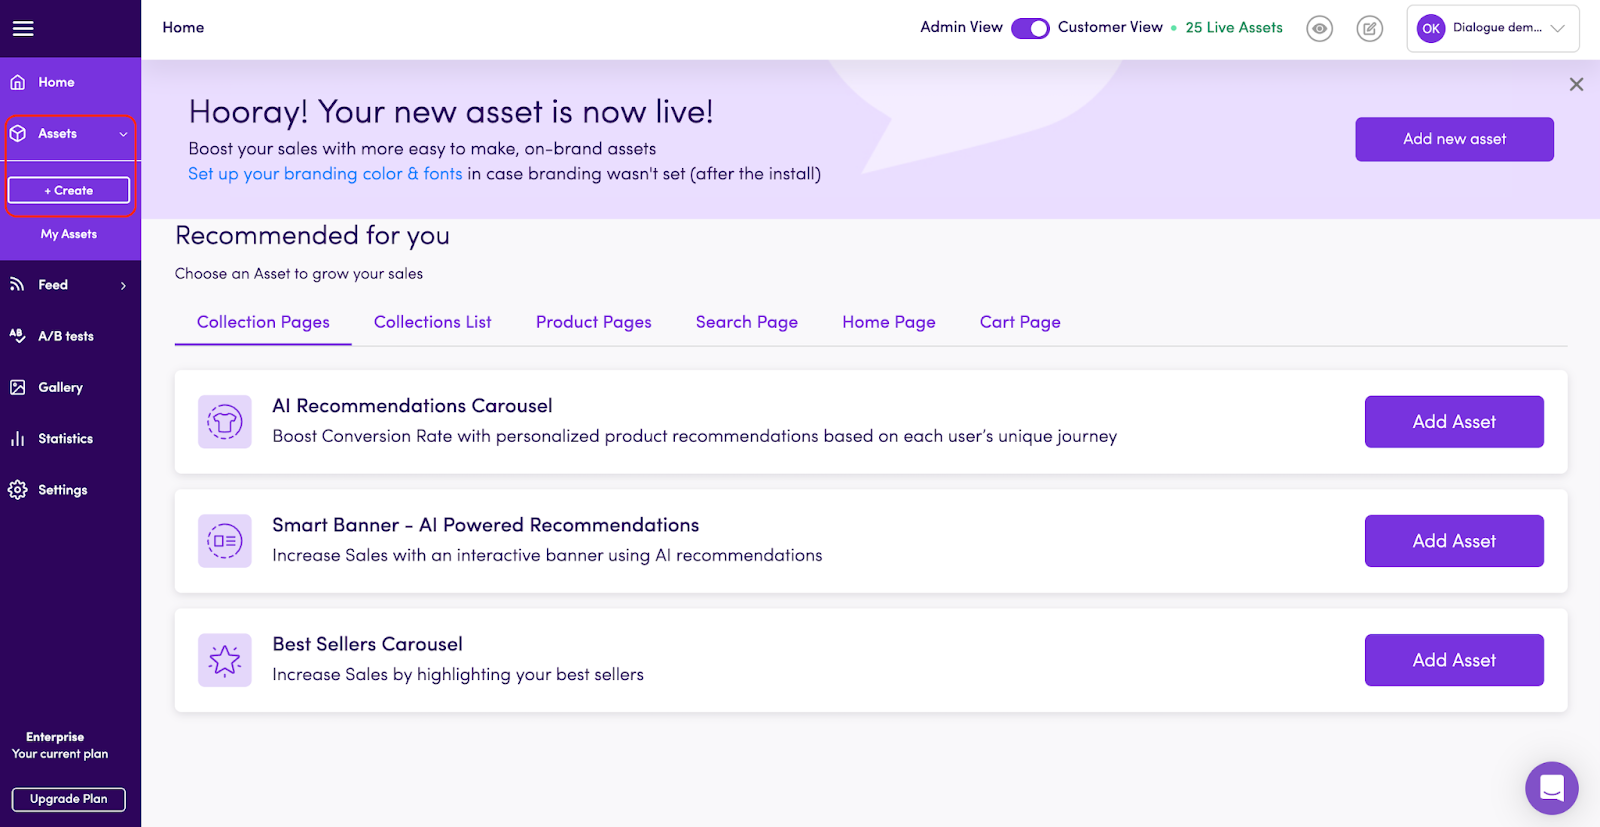
Starting at the home page, in the menu on the left-hand side click on ‘assets’ > ‘create’
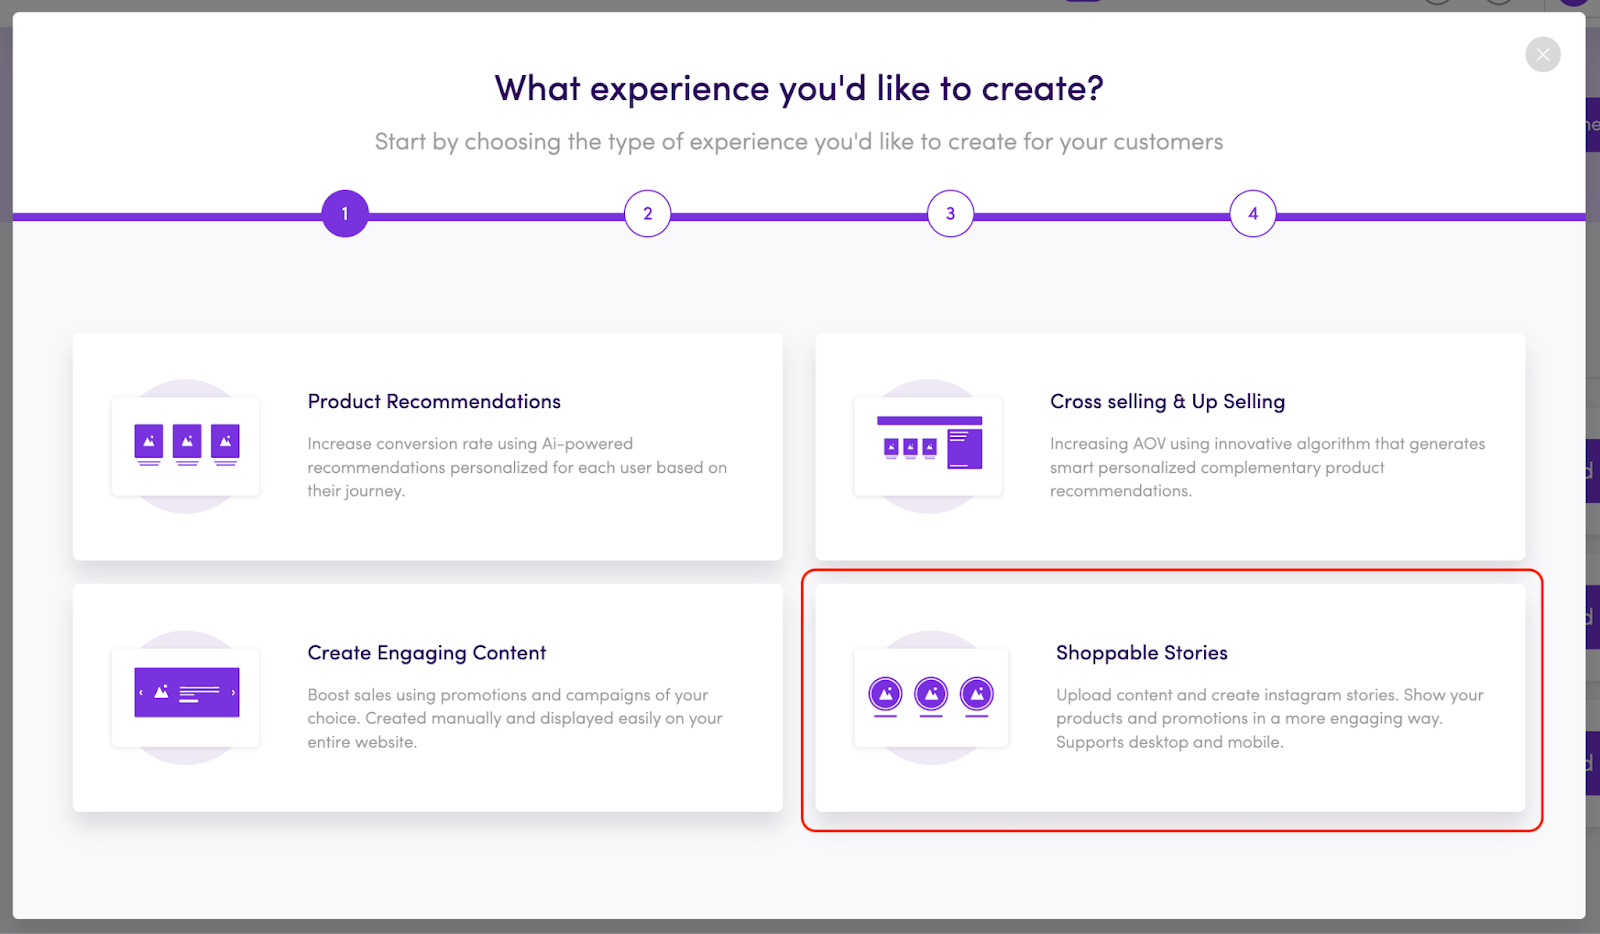
Then, choose ‘Shoppable Stories’
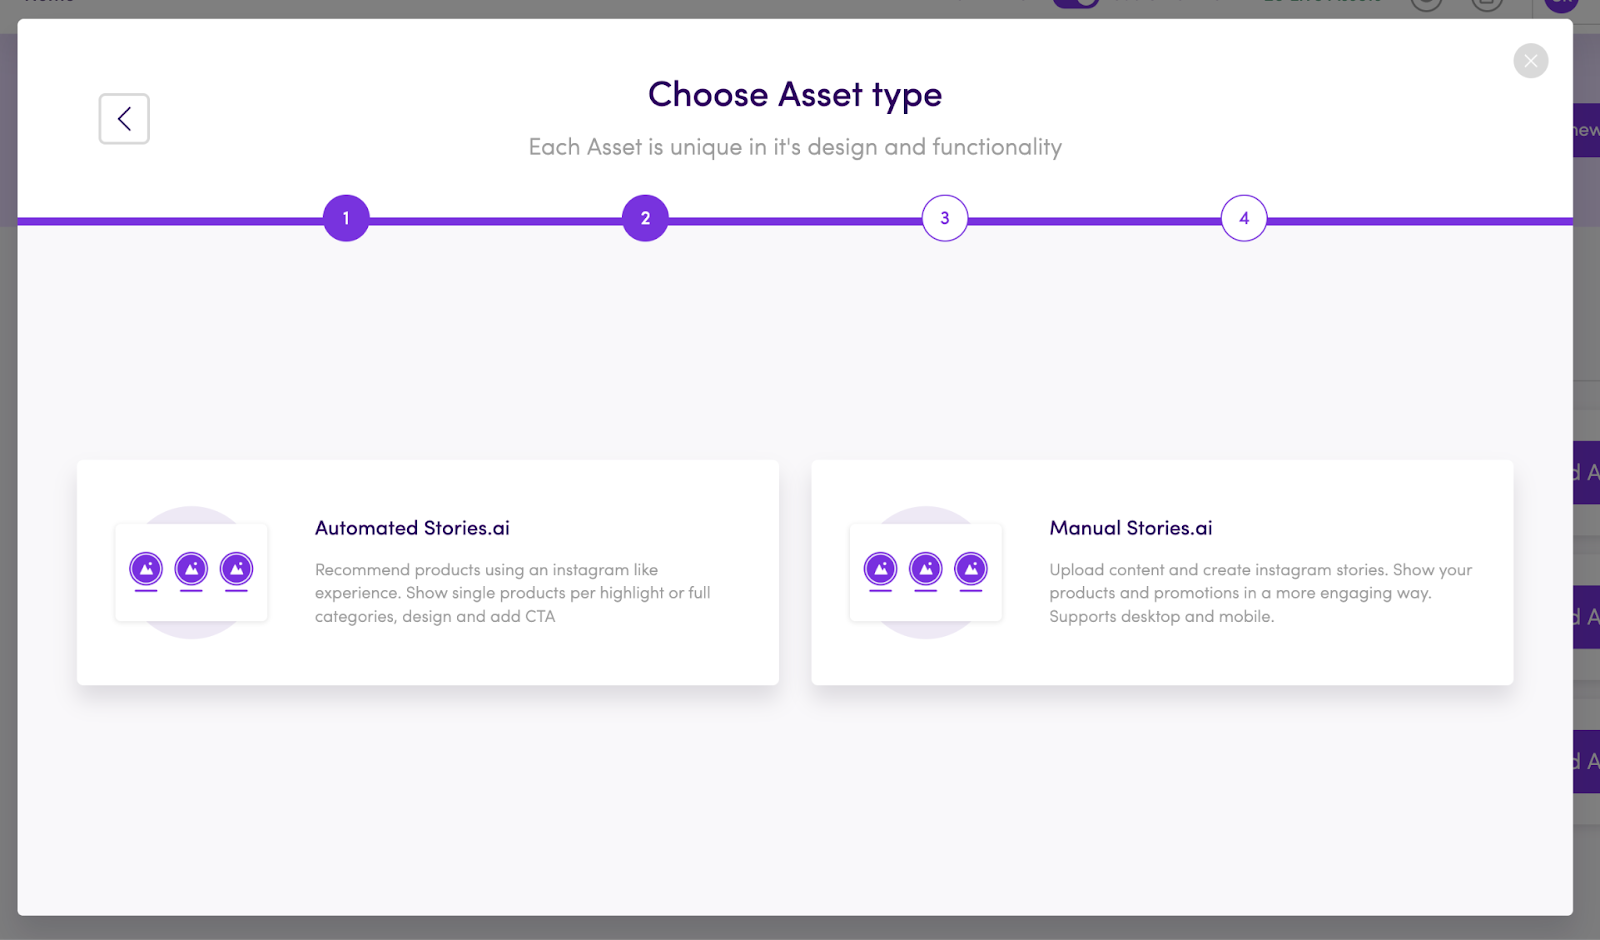
You’ll have 2 options:
Automated Stories AI allows you to either show a single product or a category of products per highlight.
Manual Stories AI allows you fuller control over what is displayed in the asset, such as the images or videos, text, link, etc.
This asset type can redirect to any URL and not only products.
In this article, you will learn how to create content for the manual version.
Click on ‘Manual stories AI’, choose the page type in which you want your asset to be positioned, name your new asset, and then click on ‘create’.
Welcome to the asset editor!
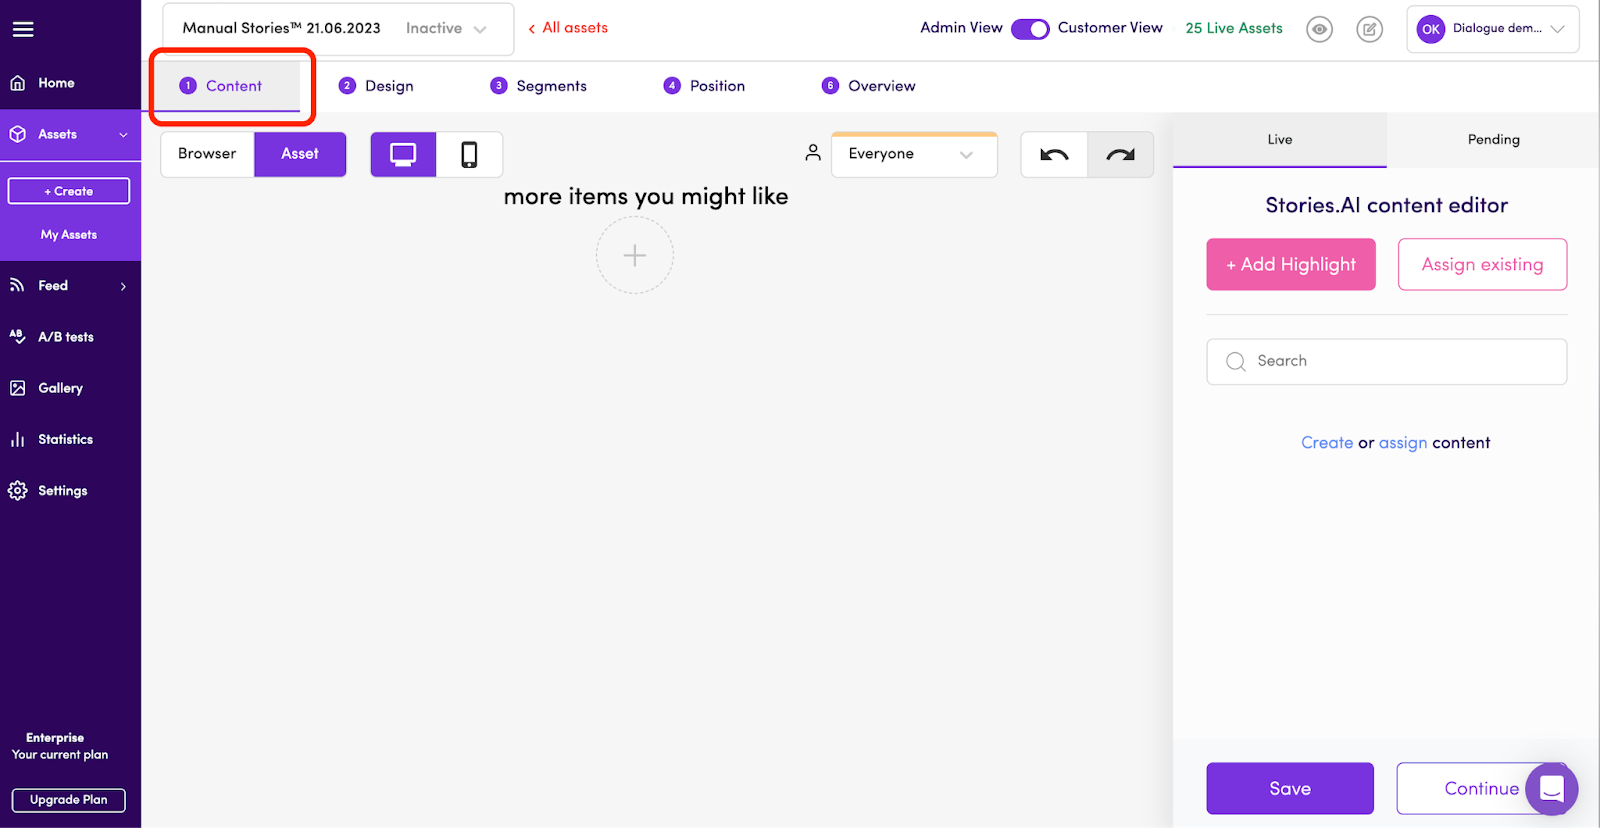
The first tab on this screen is for content creation.
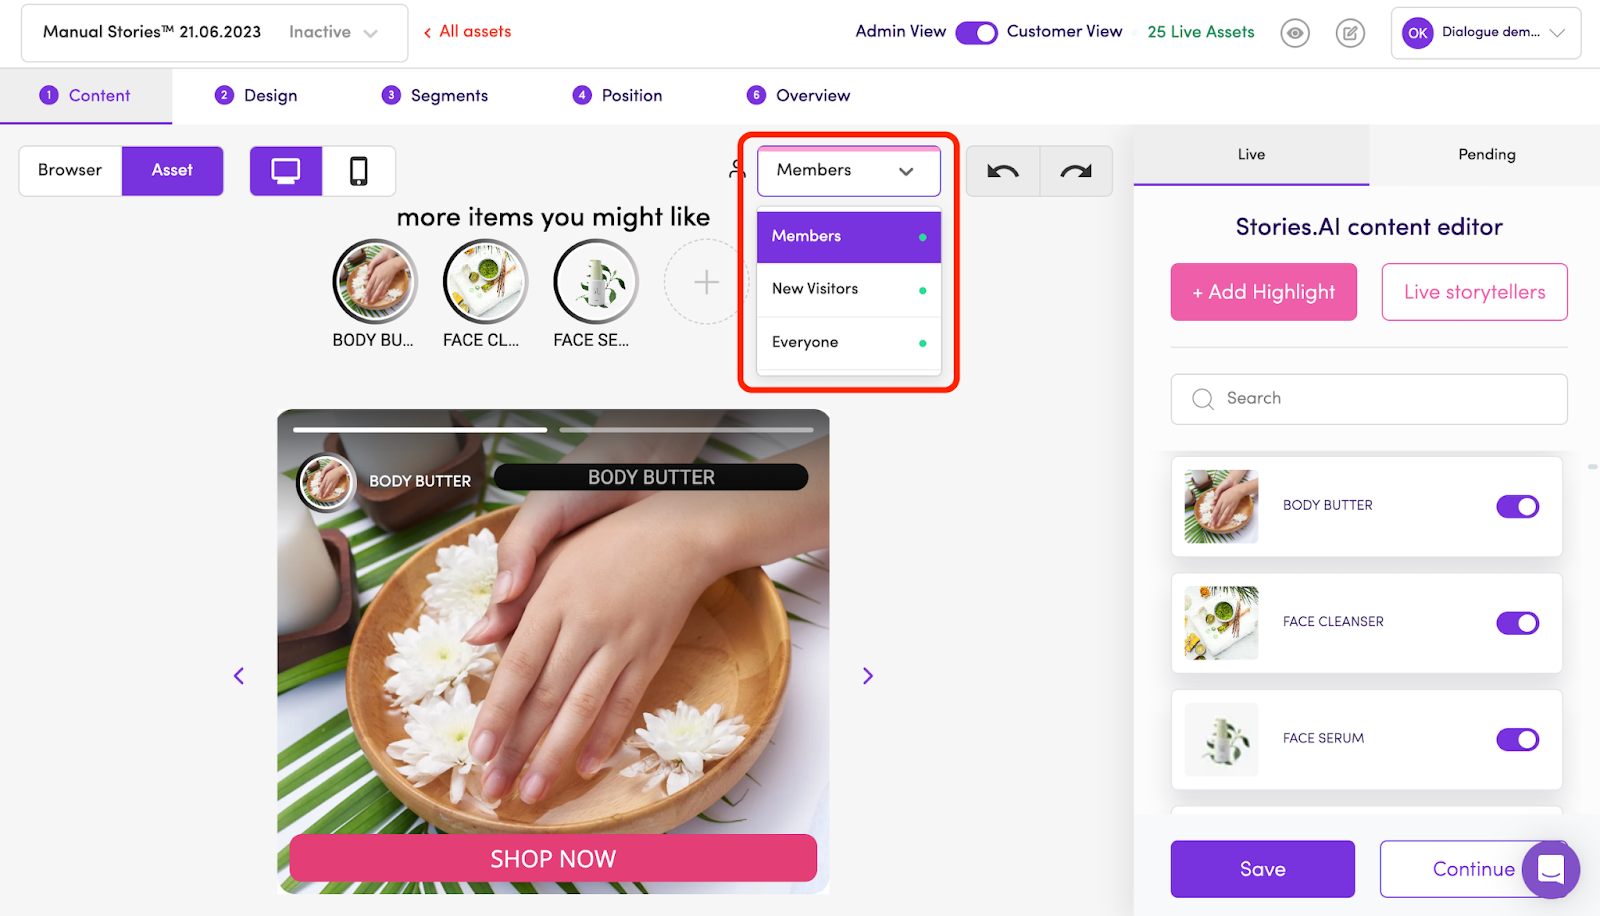
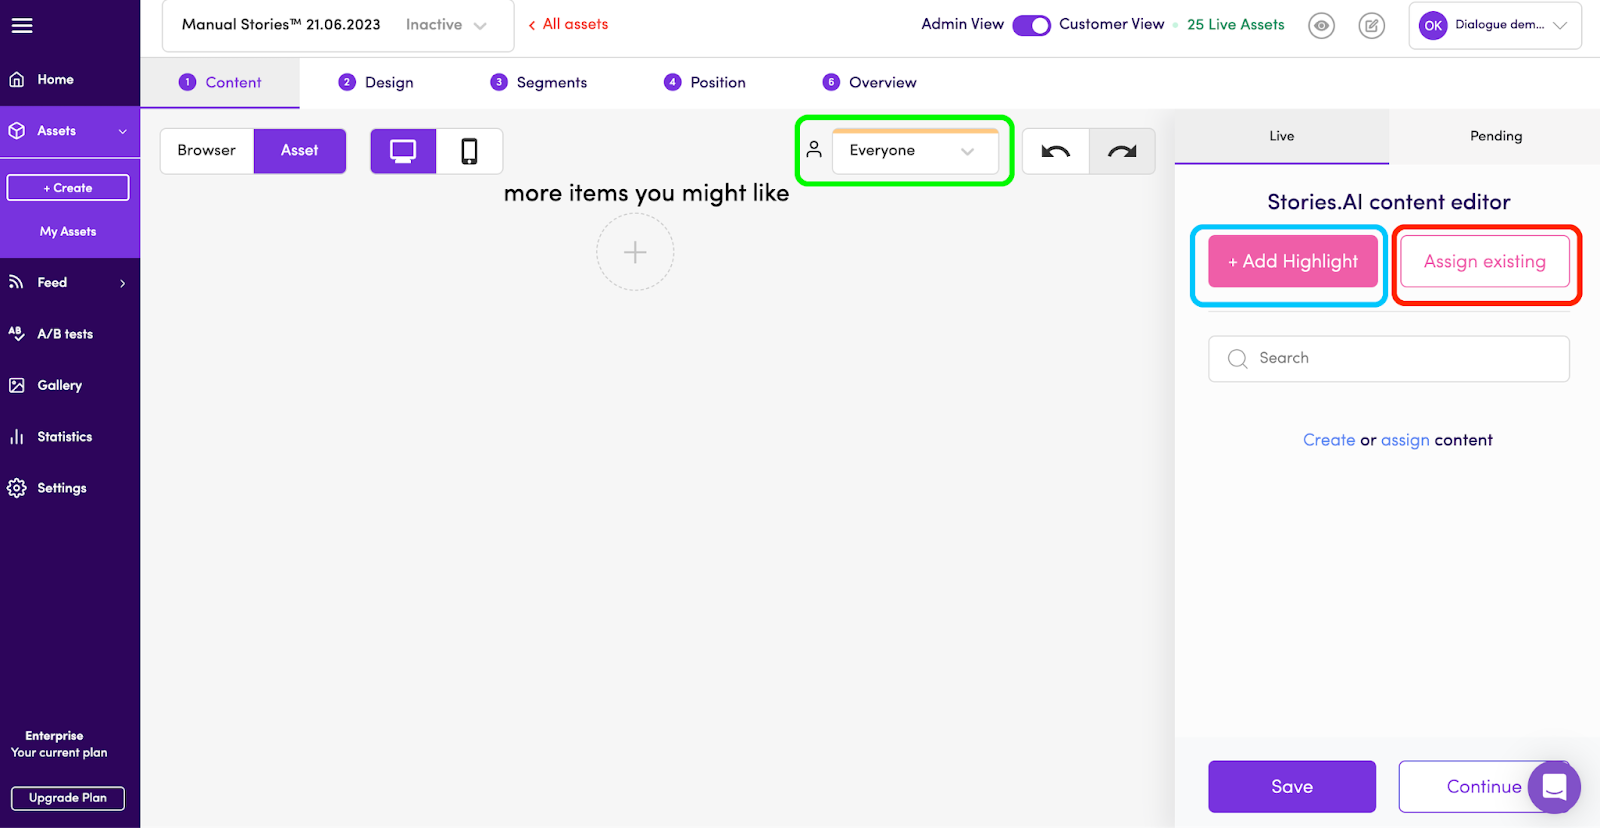
If you already have “story” type of content in your account, you can assign it to the current asset by clicking on ‘Assign existing’ on the right side, as marked in red in the image below.
* Make sure you are assigning the content to the relevant segment. You can choose to which segment you are connecting content in the dropdown marked in green.
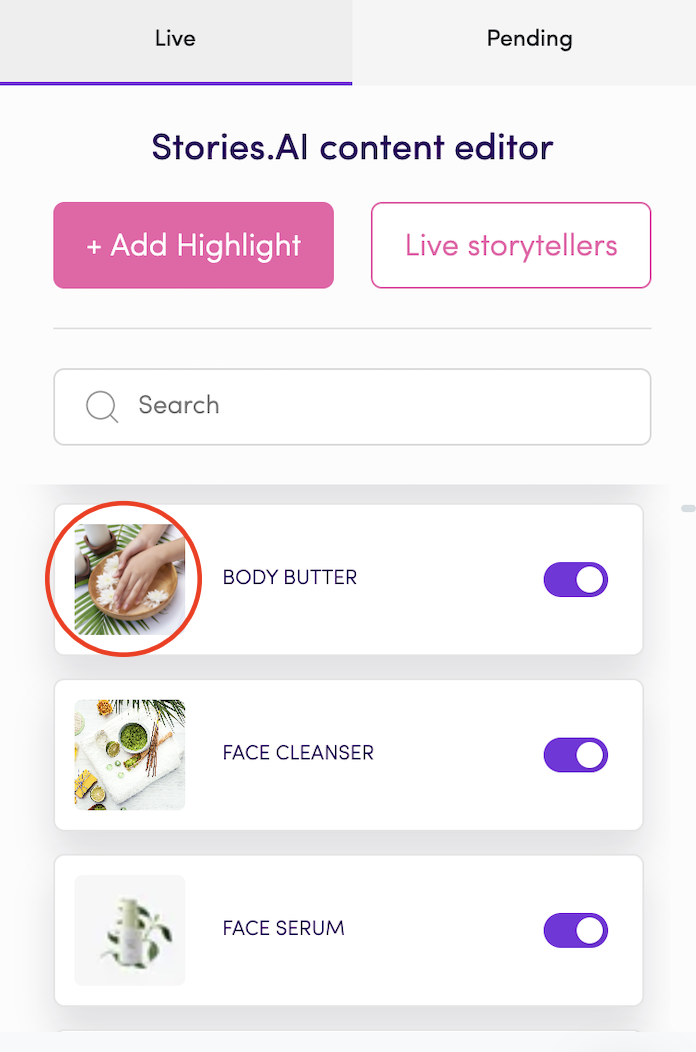
If you have yet to have content in your account, go ahead and create a new content unit by clicking on “Add Highlight”, as marked in blue.
After clicking on “Add Highlight”, you’ll see a new highlight circle was added to the asset preview.
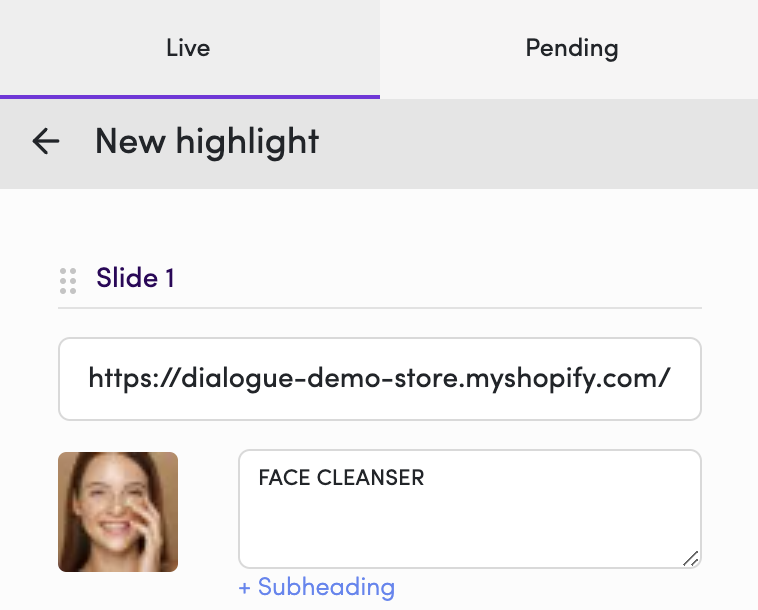
On the right side of the screen is where you create the actual content.
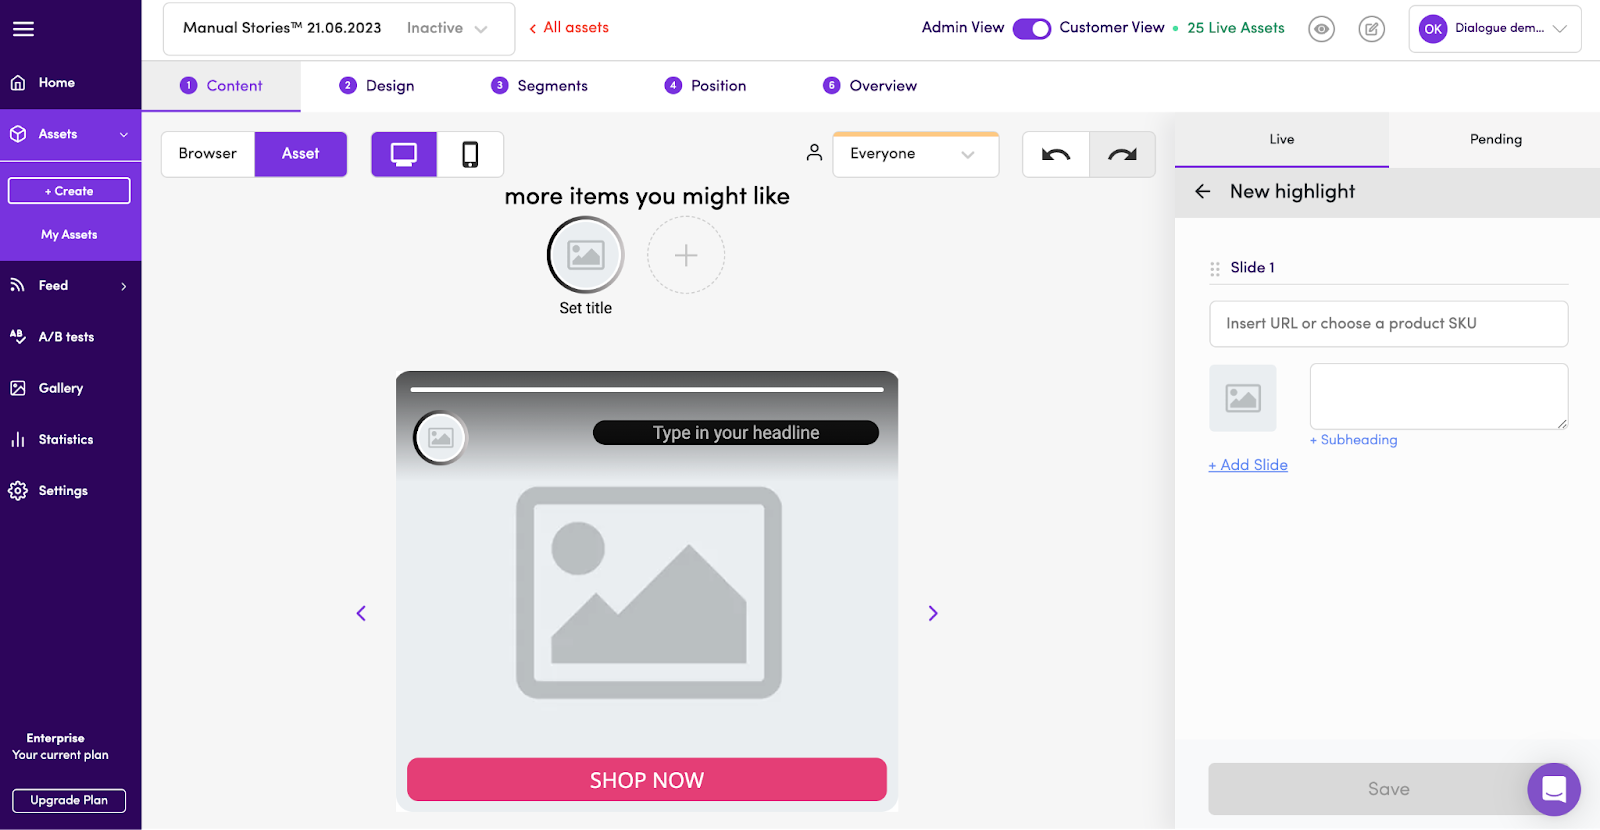
For each slide, you will need to insert a URL.
One option to do that is by searching for a product from your store and choosing it from the dropdown.
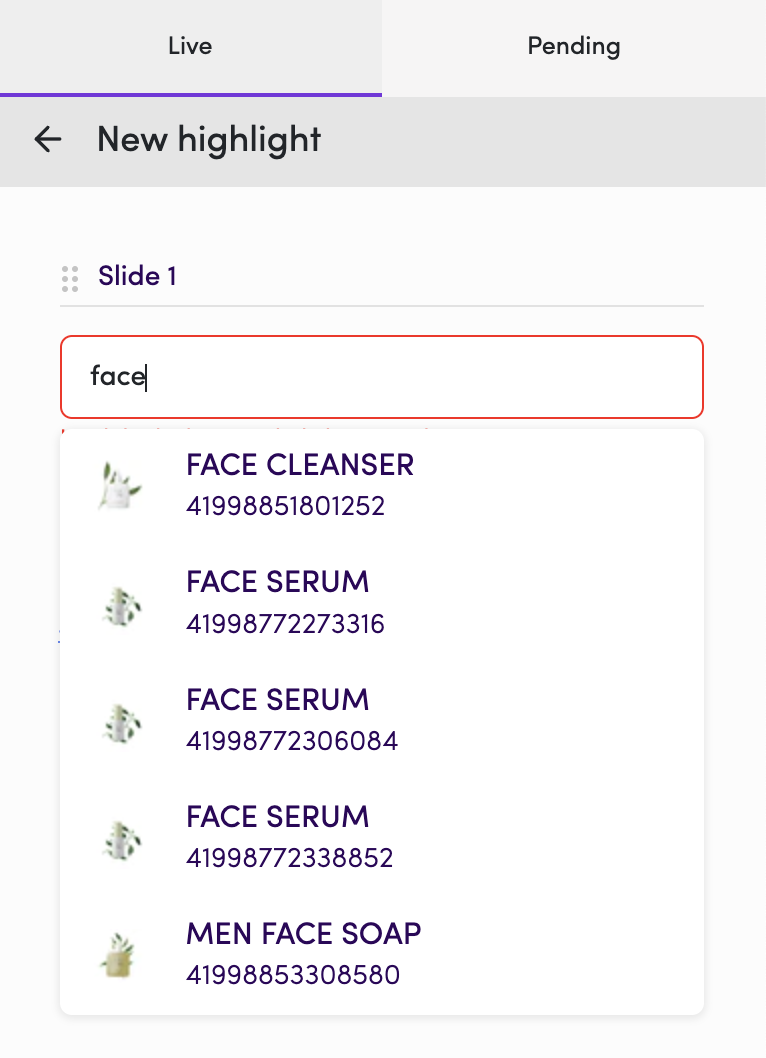
In this case, an image and text will be pulled automatically from your feed.
if you have tagged media in your Dialogue gallery, the system will prefer it over the media from the feed.
You can always change the image by clicking on it and choosing another from your gallery.
You can also change the text and add a subheadline
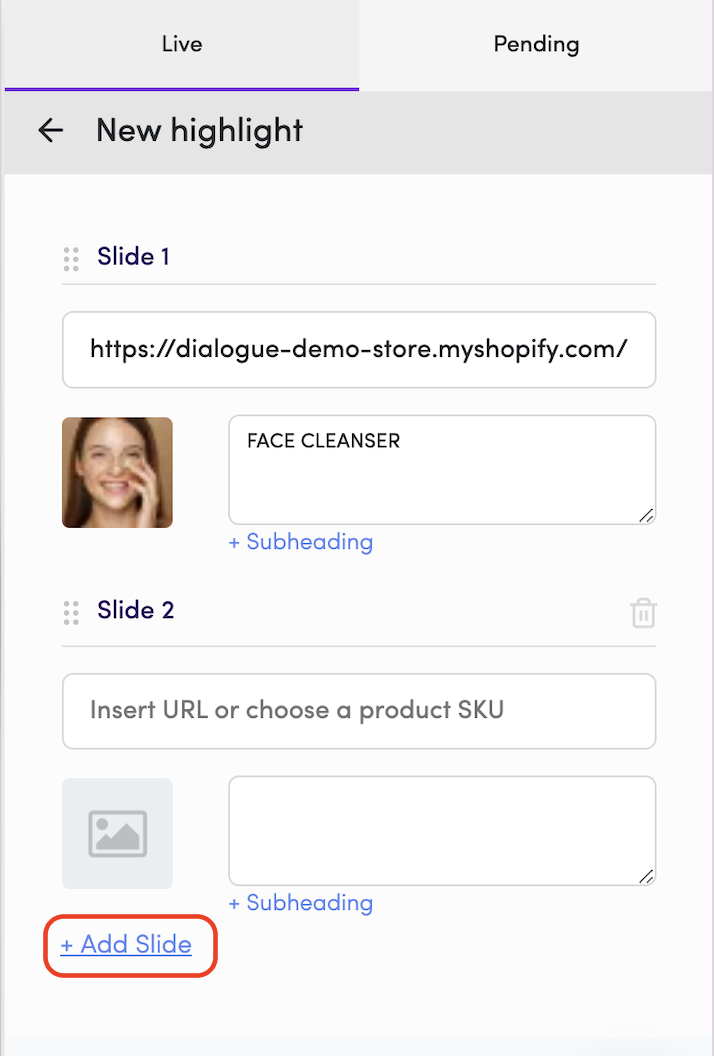
Another option is to simply paste any URL for the slide to redirect to. In this case, if it’s not of a product from your store, you will need to manually add media by clicking the image placeholder, and insert text to the text field.
You can create several slides in the same highlight by clicking on ‘+add slide’.
When you are done creating your highlight, don’t forget to click ‘save’.
Repeat the process and create as many highlight you want.
To change the main highlight image, click on it and choose another from the gallery.
If you want the highlights to be shown to different segments, make sure to switch segments and connect existing content units (highlights) to each one of them.