Segment your Audience
Choose what products they see using rules
Choose what messaging they receive
Market segmentation is about dividing your target market into smaller, more approachable groups based on shared characteristics.
The goal is to tailor your marketing strategies to meet the specific needs and preferences of each segment.
Common segmentation bases use the following key factors:
Demographic: age, gender, income, education level)
Geographic (locations like country, region, urban vs rural, climate)
Psychographic (lifestyle, values, interests, personality traits)
Behavioral (purchase habits, purchase occasions, usage rate, user status(new/returning/heavy spenders, benefits)
Dialogue offers 1-click segmentation based on your customers' shopping behavior: their information, their cart and even membership info.
Dialogue integrates with your Klaviyo campaigns and Yotpo membership info.
These are only a handful of segments you can apply with Dialogue
First time visitors to your site
Shopping through sale items
Shopping for high ticket items
Returning visitors that never purchased in your store
Never placed items in the cart
Abandoned cart items
Returning visitor that purchased in the past
Purchased some items but took others out of the cart
High profile clients - buying frequently and in large volumes
Small shoppers in high frequency
Shoppers buying repeating items
Shoppers that are or aren't registered members
Influencer redirects
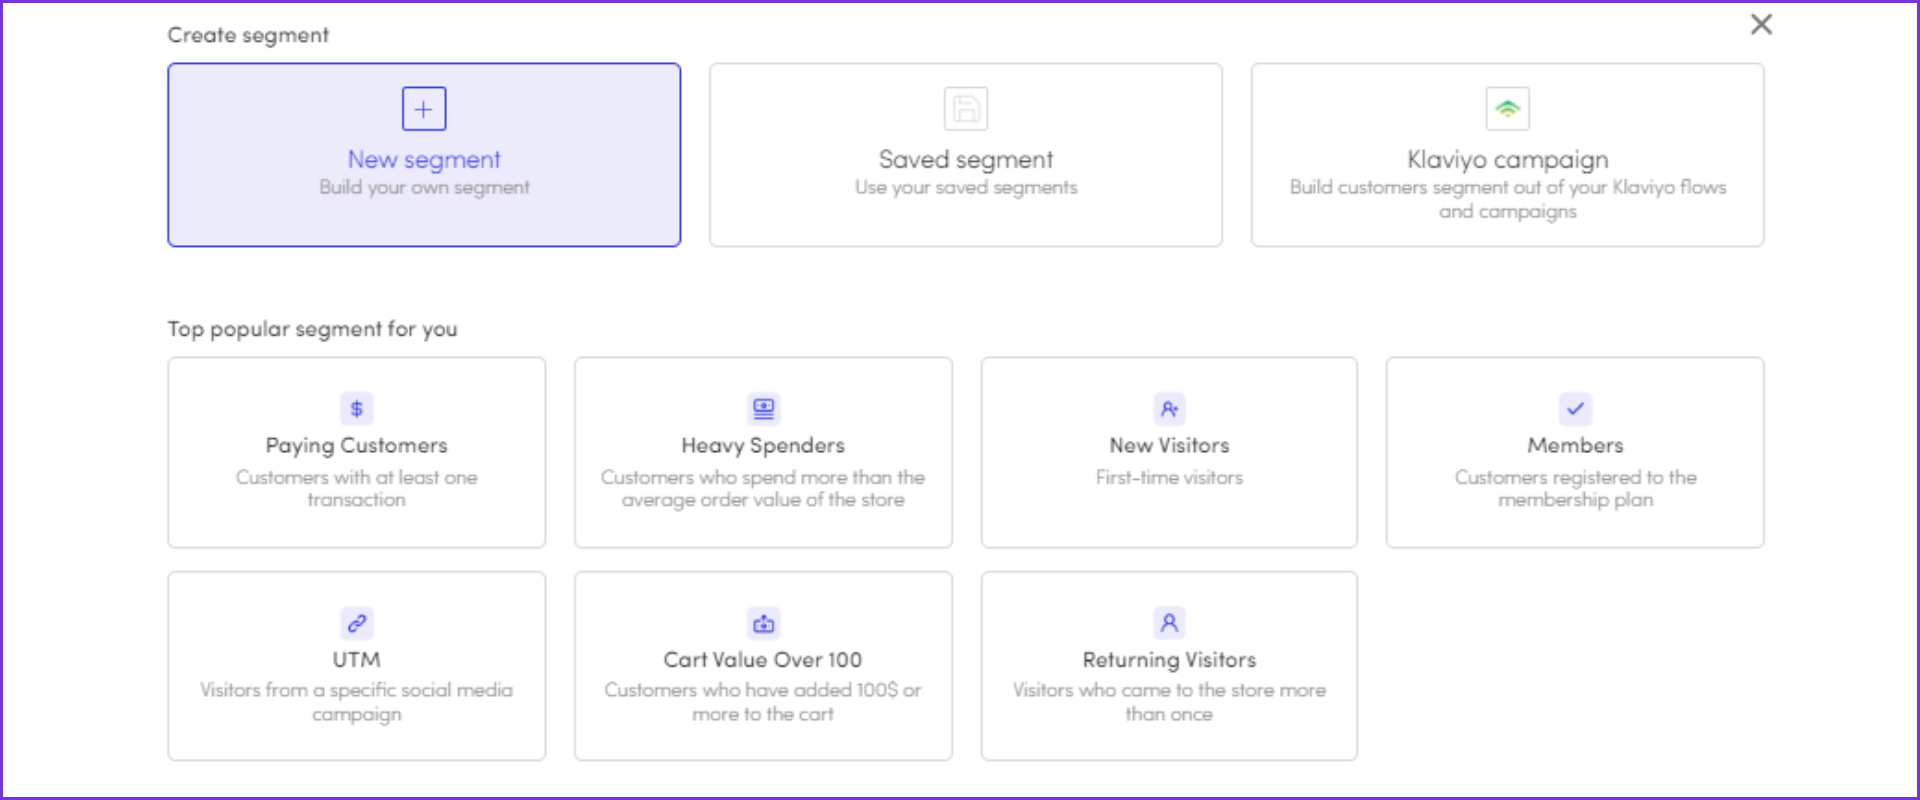
Dialogue offers a variety of ready-made and customizable segments:
Every asset is created with the Everyone segment block which includes:
Segmentation including everyone who visits your store
Product rules using Dialogue's AI
Messaging generalized
Everyone means that as long as you use this segment your asset will be displayed, as is, to all your store's customers.
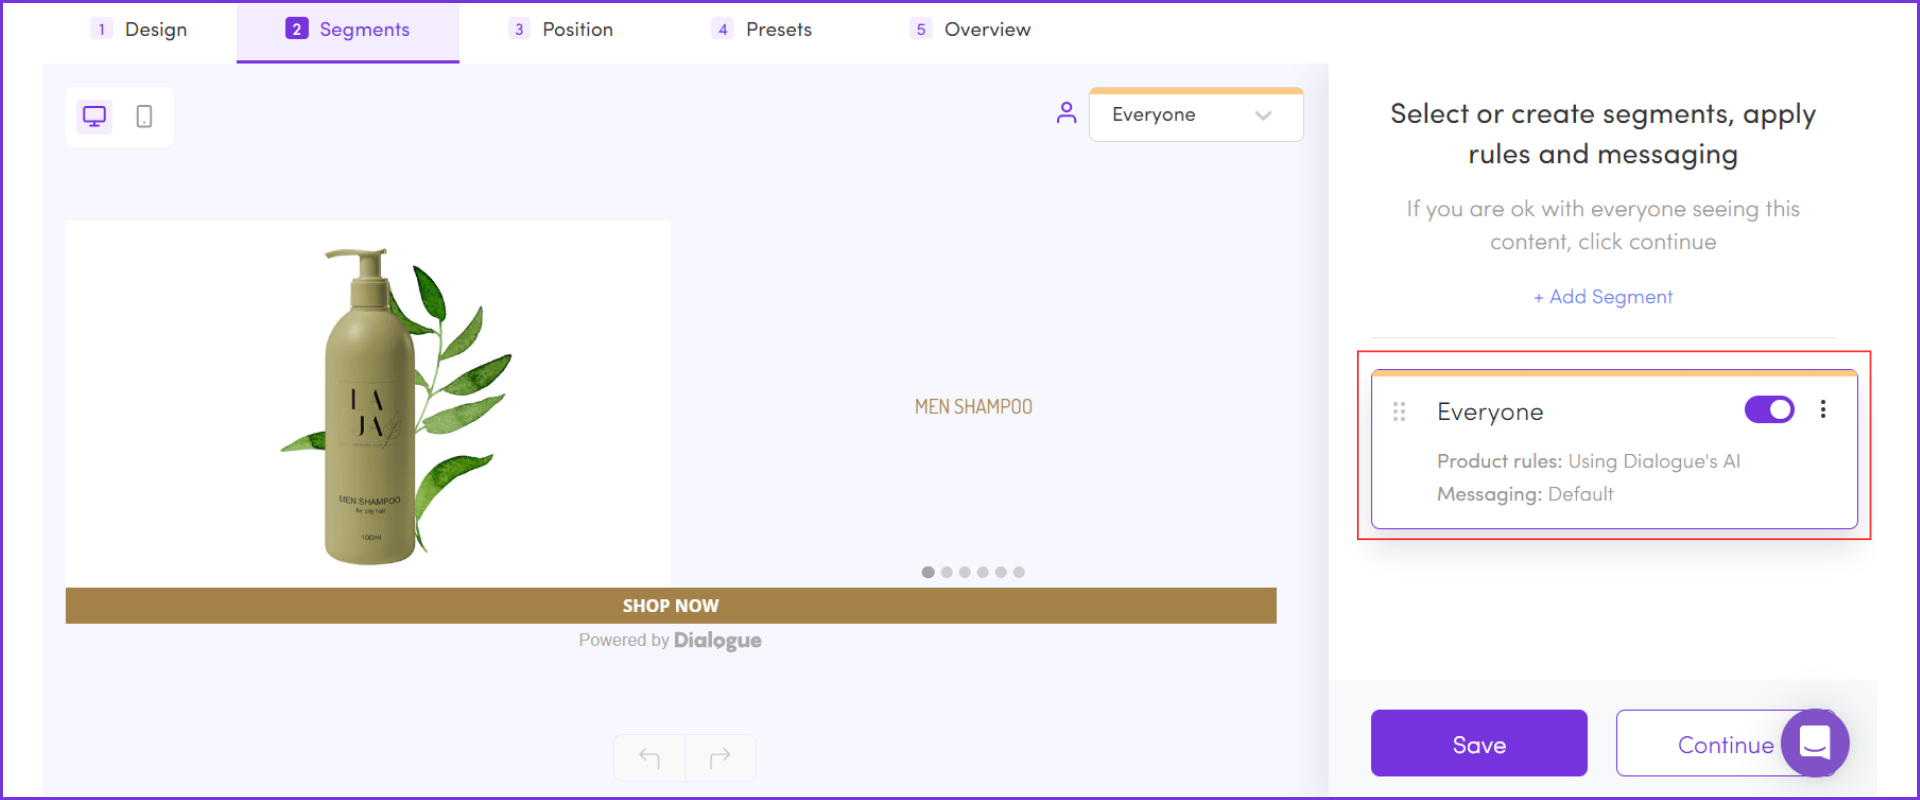
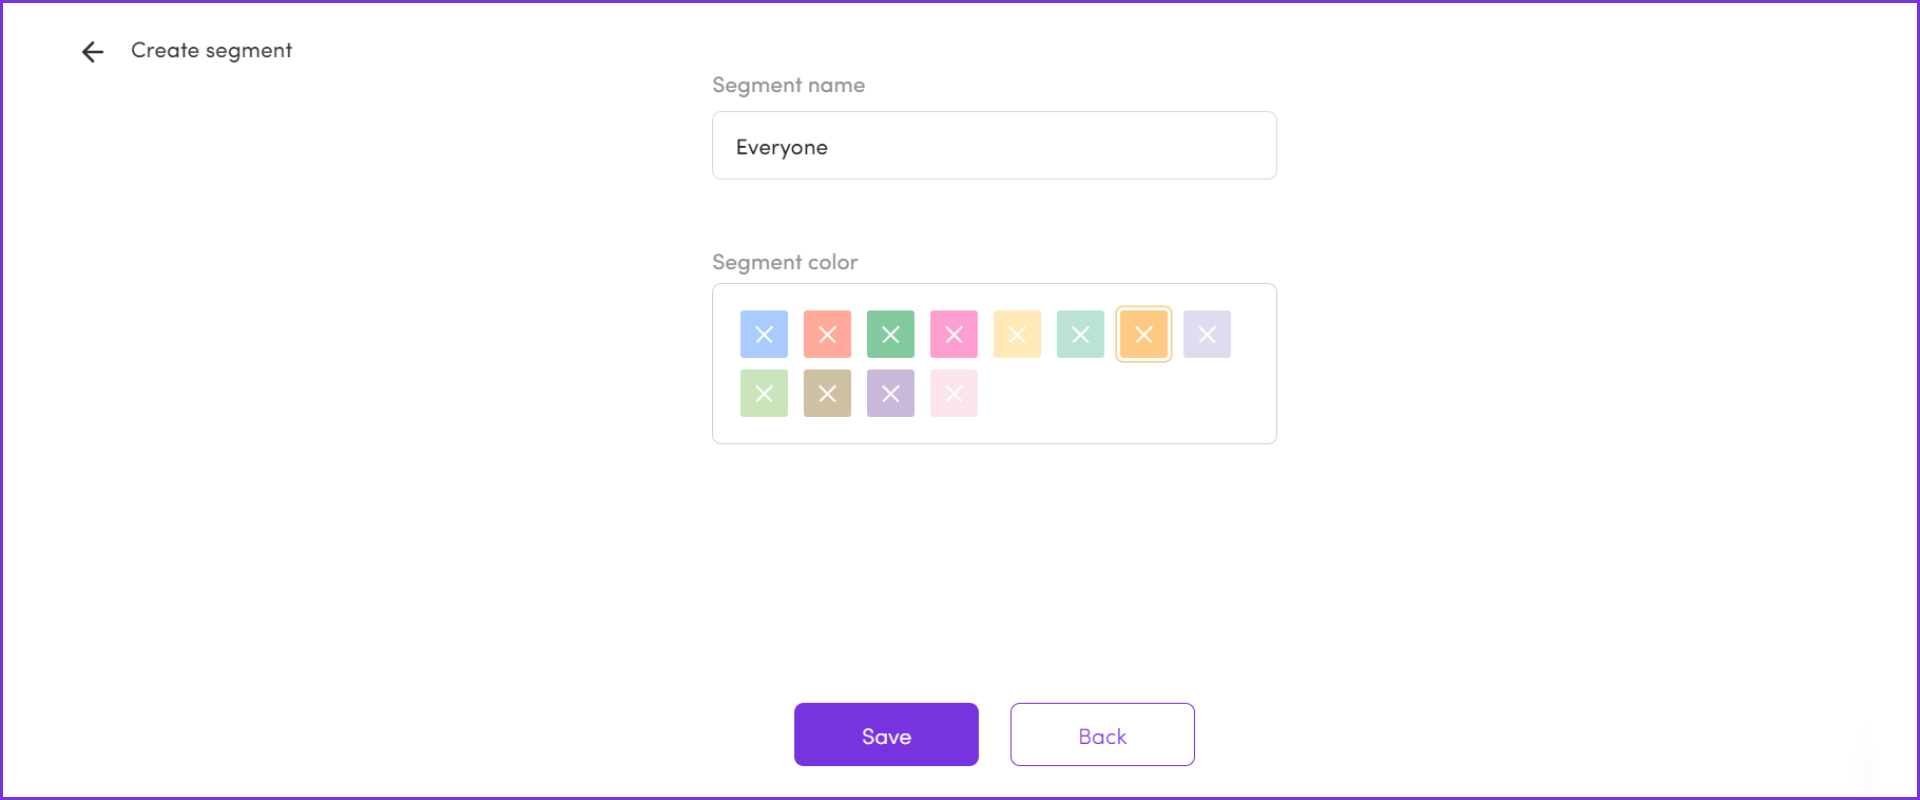
Clicking on the segment's name, Everyone, will open up a segment management pop-up with the following options:
Renaming the segment
Applying color to the segment
Creating the segment block to begin segmentation.
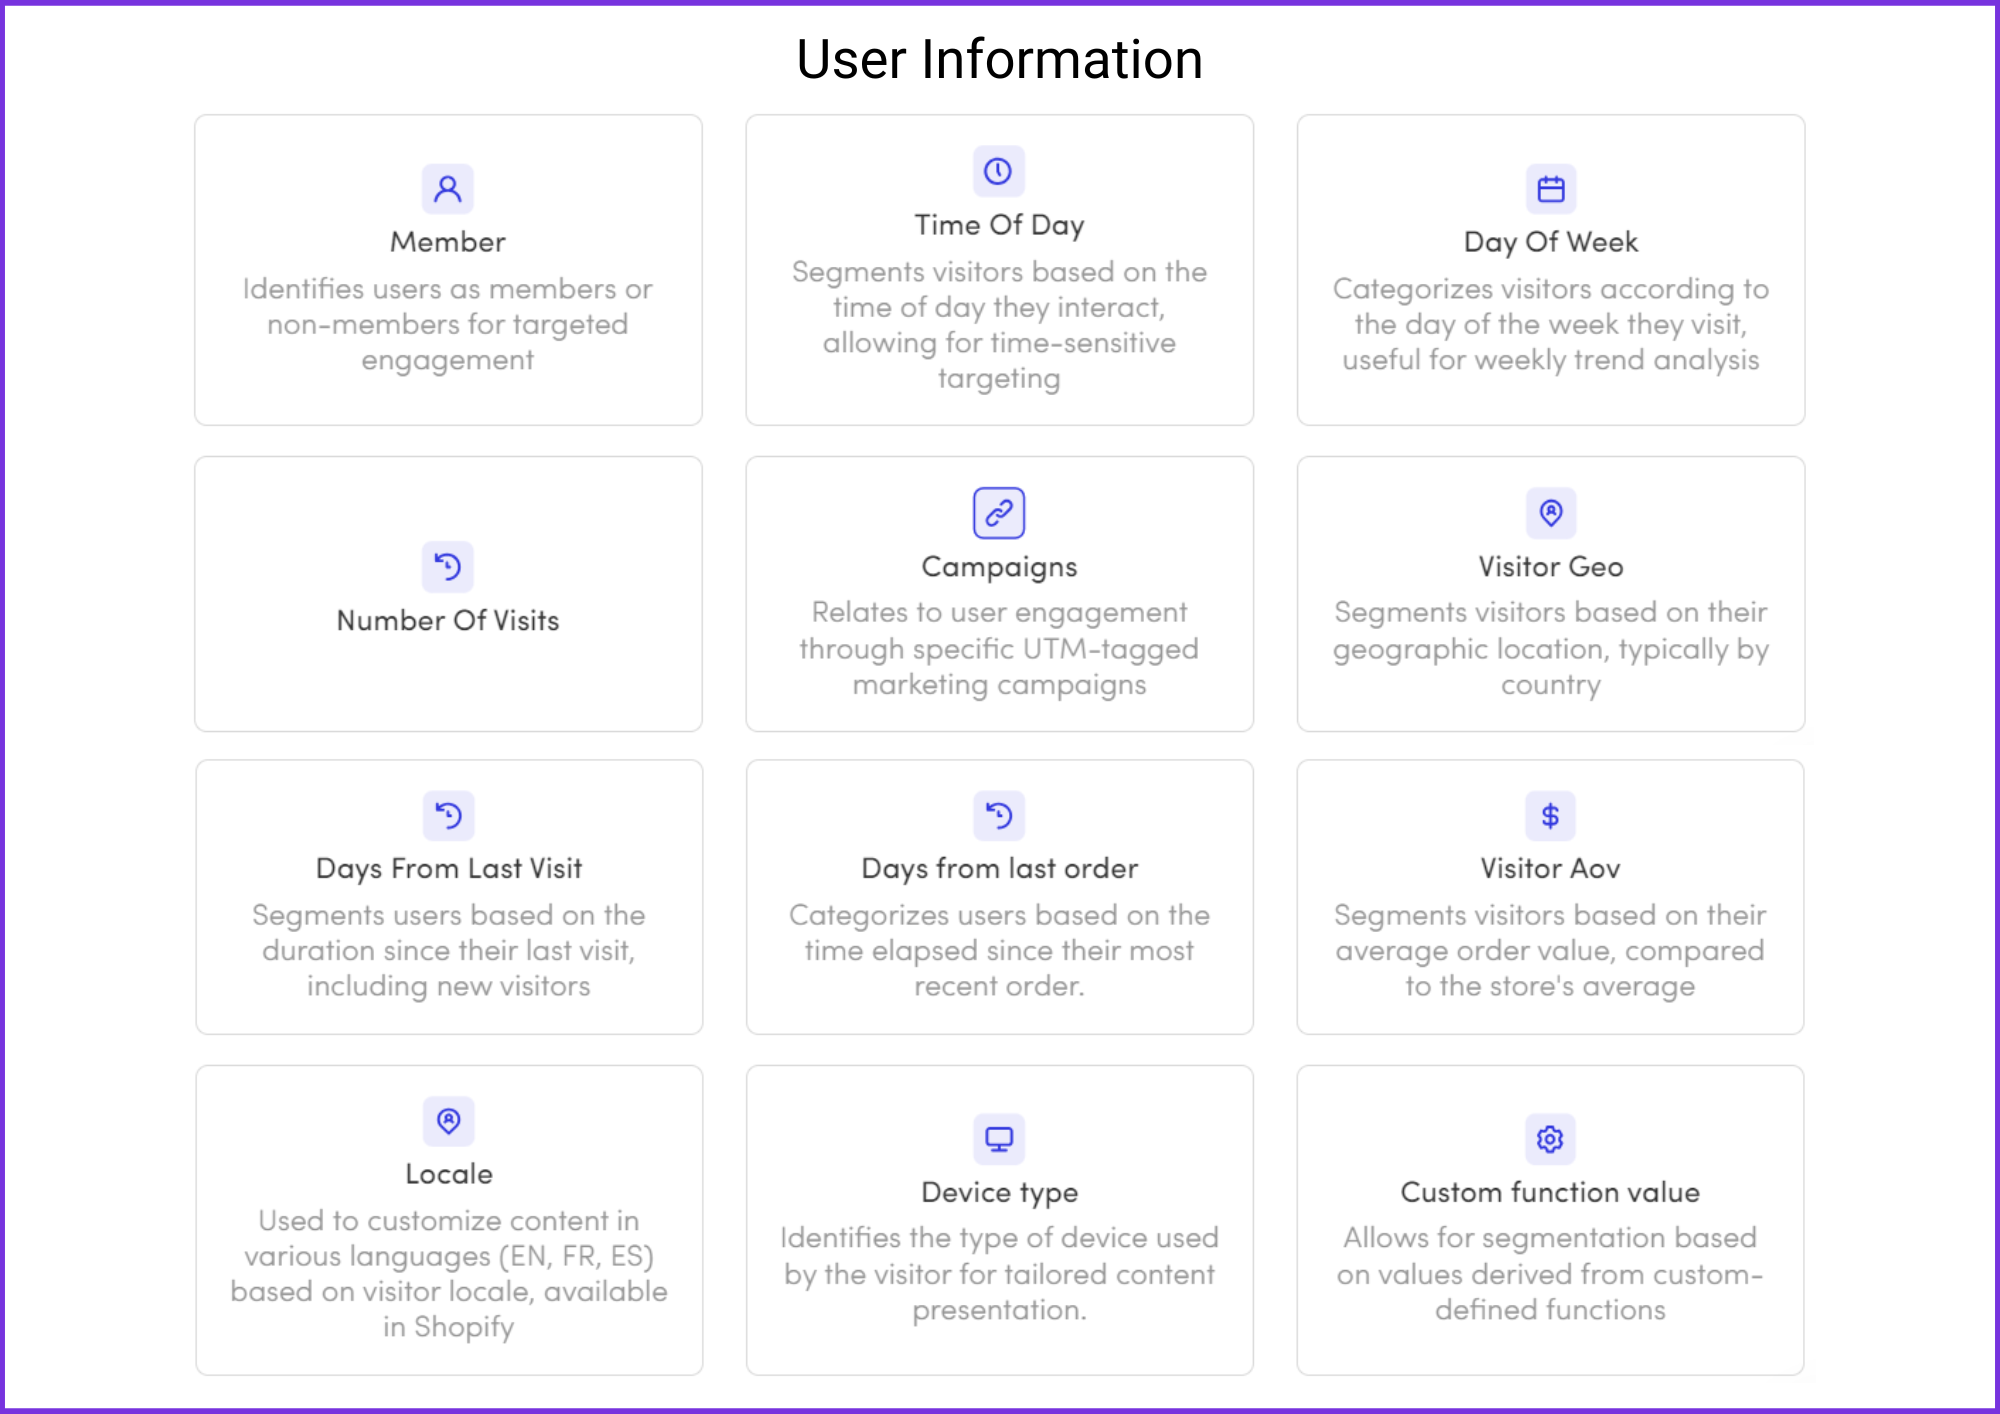
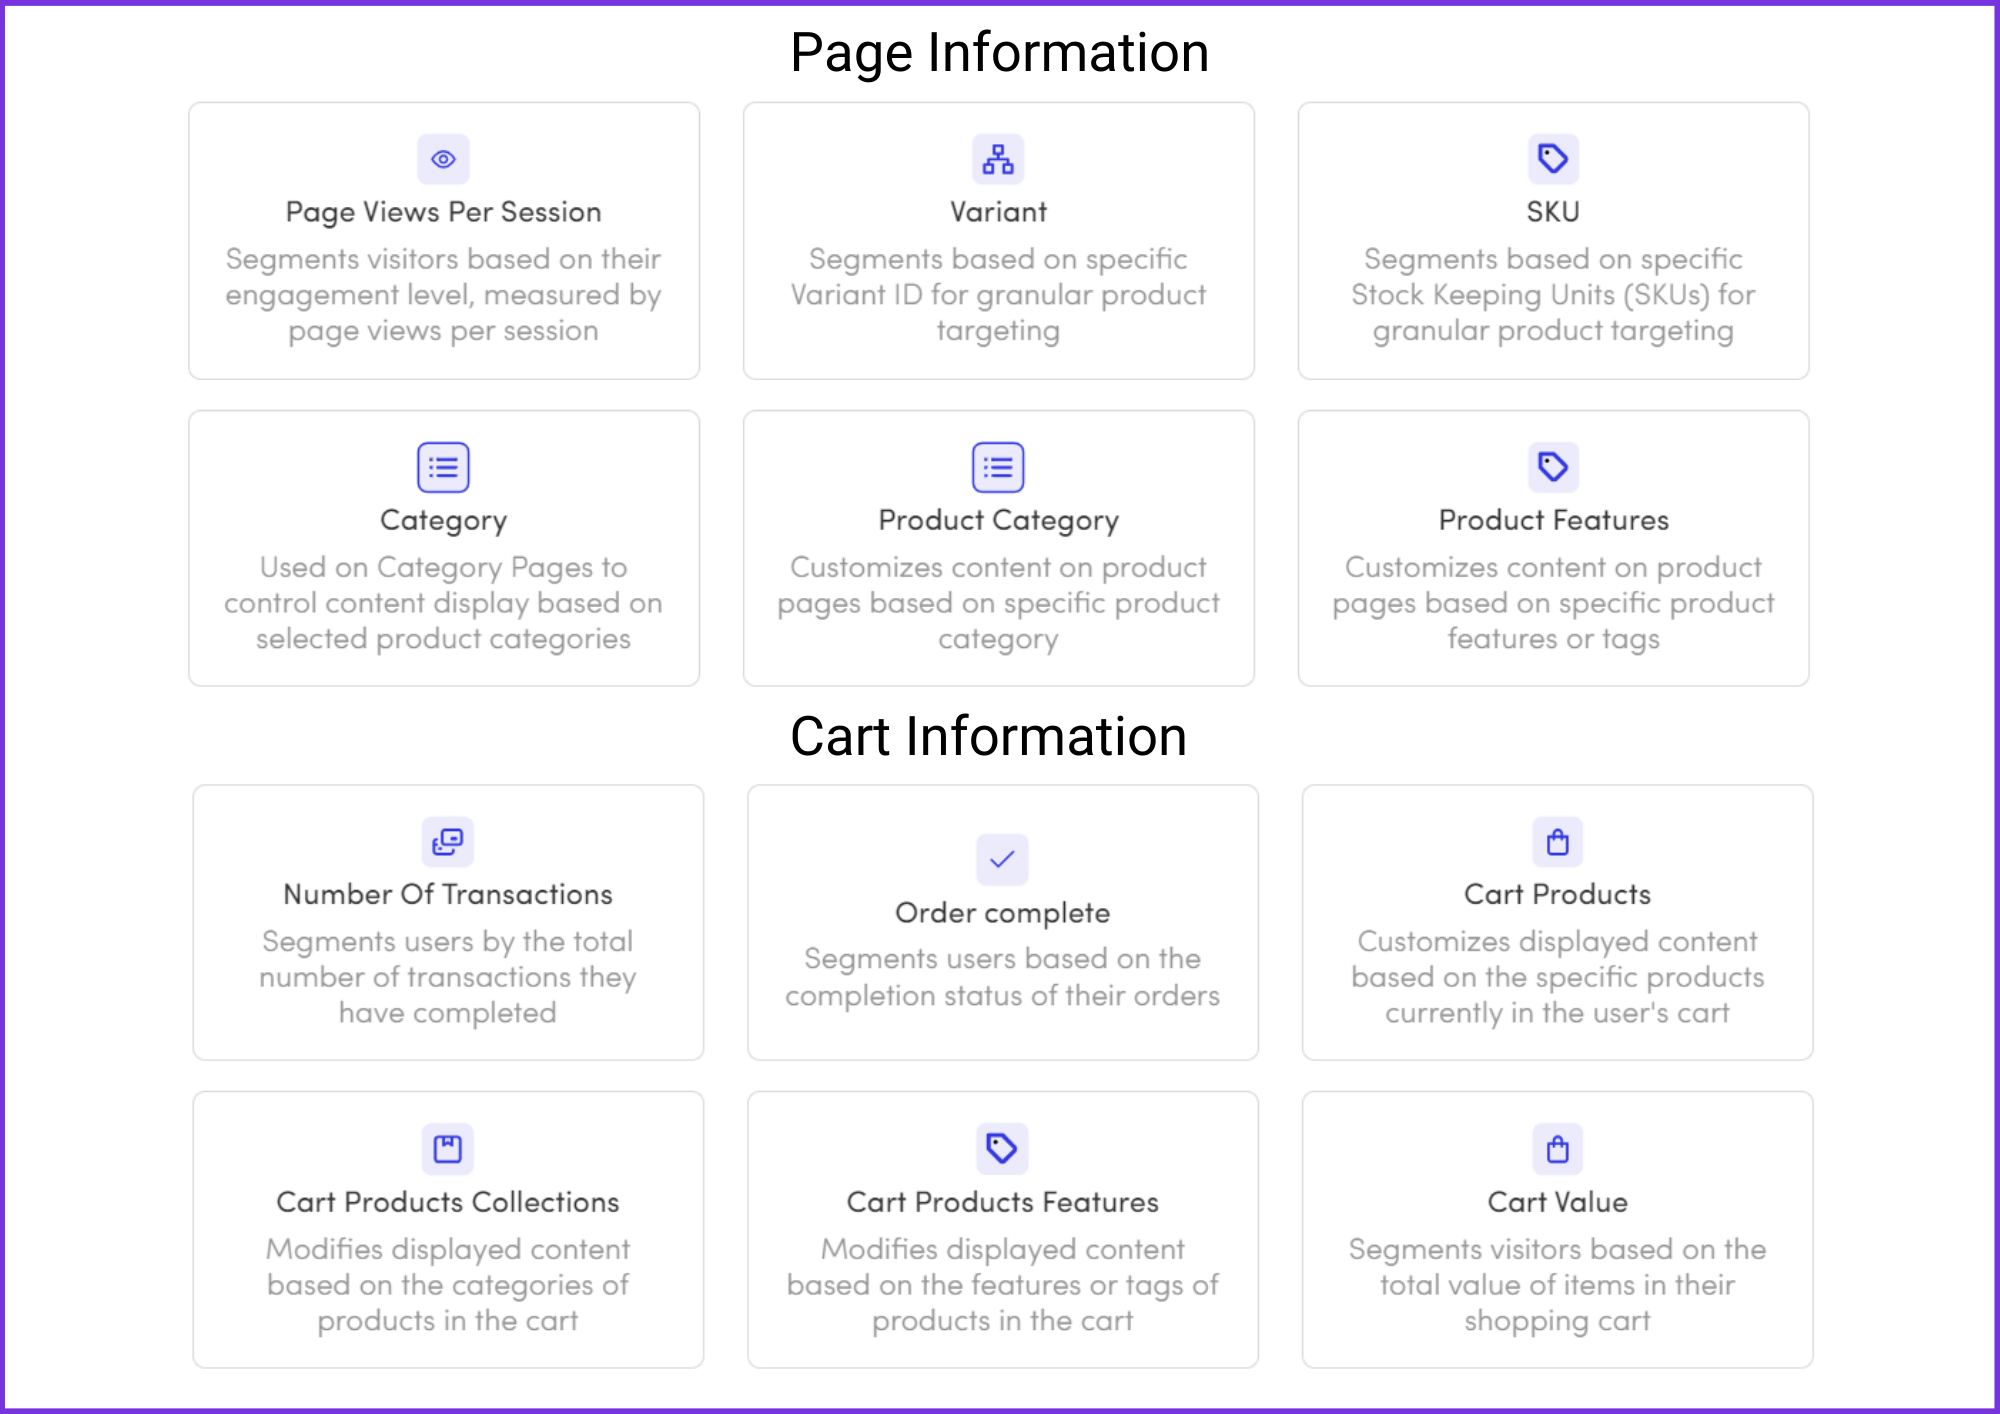
After renaming your segment, clicking on Create Segment will lead to a segments menu with options that are based on user characteristics, page information or users’ behavior like Paying Customers, New Visitors, Members etc.
Except for editing existing segment blocks, you can also add a new segment block altogether. In your new segment block you can use a saved segmentation you previously created, or create new segmentation.
As an example, let's say you create a homepage product recommendation carousel, but you want it to show different products for two types of audiences: New Visitors and Returning Customers.
In the Segments tab click Add Segment
Choose the desired segment, In this case New Visitors.
Define New Visitors as those with lower than 2 visits.
Click Continue & Save
Now you have 2 segments: Everyone and New Visitors
After you created the New Visitors segment for your homepage product carousel, you need to assign products that new visitors would want to see. Since New Visitors haven't been to your store before, it might make sense to display the most popular products.
Under the New Visitors segment you just created, click on Product rules. A pop-up will open with a menu of ready-to-use rules. Choose Best Selling Products and click Save.
Note that Dialogue's AI Algorithm will still control the asset, in consideration with the segment and rules.
Now that we created a New Visitors segment with a product rule showcasing Best Selling Products, the Messaging of the asset should also be aligned. let's apply messaging.
Click on Messaging: Default to open the Messaging tab.
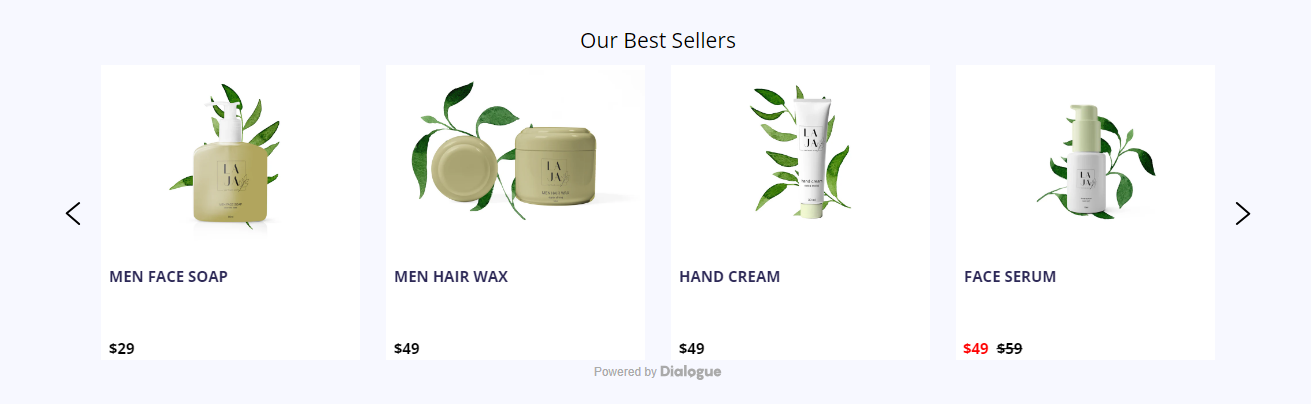
Edit the Asset Headline box, In this case, you might want the headline to say Our Best Sellers. You can create even more personalized headlines by clicking on Personalize.
Now let's say you want to create another version of the same recommendations carousel, that will display different products & messaging to returning customers. We have an easy way and an easier way to do that:
The easy way - simply follow the same steps of New Visitors but choose different segments, rules and messaging text.
The easier way - by prioritizing the order of segment blocks. Returning Customers are the opposite of New Visitors since a new store visitor is a user who visited less than 2 times and a returning customer is one that visited 2 times or more. In this case we can use the Everyone segment block and prioritize the New Visitors segment block on top of it.
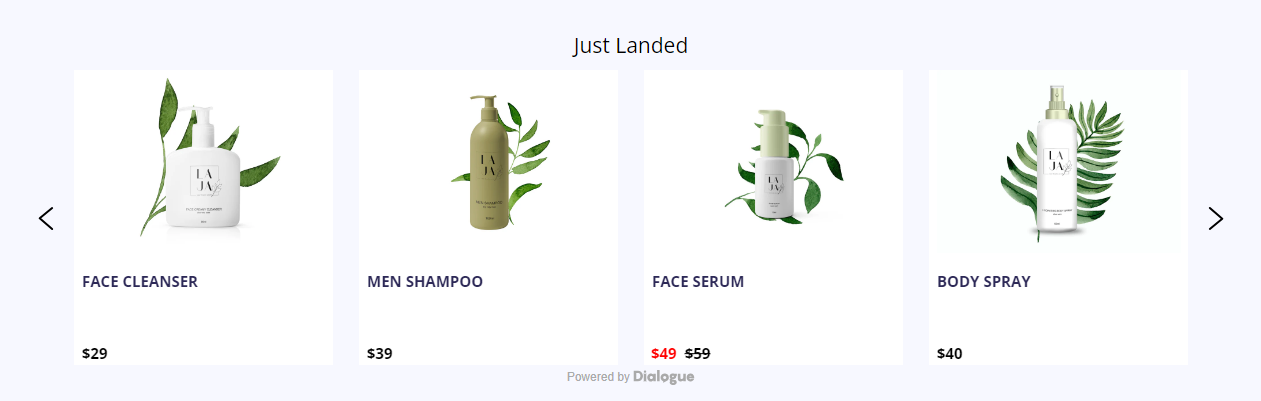
Don't forget to assign Just Landed Product Rules for the Everyone segment and to change the Messaging accordingly.
At the end of this short process you will have
A single homepage product recommendations carousel asset.
Two segments Each with it's own products & messaging:
New visitors will see Best Sellers and a matching headline "Our Best Sellers"
Everyone (Returning Visitors) will see new products and a matching headline "Just Landed".
👀 Note: The order of the segment blocks is used to prioritize segments. Therefore, the first segment in line is the one taken into account first. This is especially relevant in cases where a customer can be categorized in a couple of ways, such as a member and a returning customer. You can easily control the order of the segments by dragging them with the 6 dots icon.